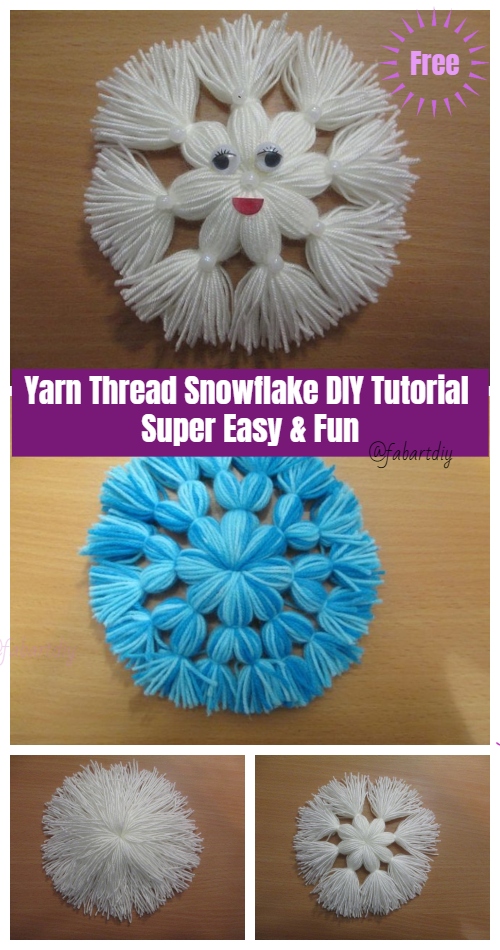
Instead of crochet and knitting, here comes another easy and fun yarn crafts to use your leftover yarn scraps – Yarn Thread Snowflake DIY Tutorial. This adorable ornament out of only yarn, small cardboard as decorative embellishments, cost next to nothing to make. I also have some other yarn projects you would love to check out, and I recommend the Princess Leia Yarn Wig for Halloween, the Simple Yarn Winter Hat Ornament for Christmas Decoration. Christmas Craft Yarn Thread Snowflake is super Simple and beautiful, and most importantly little kids friendly. But be cautious since scissors are used so better under parents guide!
You may also love: DIY Yarn Feather Tutorials-Video
Supplies you need:
- Thin yarn/thread of various colors
- Scissors
- Cardboard rings or a book
- Sewing threads
- needle
- Googly eyes, beads, rhinestones for decoration
How to:
Wind a layer of yarn (better thin yarn but not thick layer) as the basis of the pom-pom, . We make a pom-pom , but do not fluff it, but we tie up as the rays of a star later. On the resulting snowflake we sew a nose and a mouth, glue eyes, decorate with tinsel, tie a loop of length.
In order to make the rings, we need cardboard and compasses. Draw two circles (with a diameter of 6 cm and 18 cm) and carefully cut. We should have two such rings. The yarn must be rolled up into small balls so that each one passes freely into the hole. I took two colors of yarn: blue for the snowflake itself and white for tying the warp and rays.
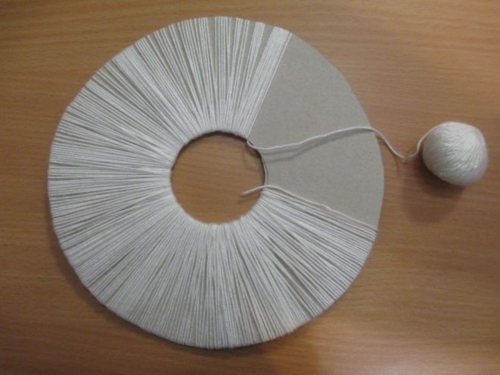
Take one ring and cut off the thread (white above), which will further connect our base.Then tie the string (at one time, not on the knot) and put it on the ring, as shown in the photo. we cover our design with the second ring so that the two strings are outside. Now we will wrap the rings with yarn (in my case, blue) so as not to lose the outer two threads for tying. When we wind the rings, you need to make sure that the strings fit snugly together without gaps. And since the inner diameter is smaller, the threads there will periodically overlap each other. d continue to wind the ring further. completely wrapped rings, strings for tying stick. It took two balls, the threads are wound in one row tightly to each other. You can also wind the second row, then the snowflake will be softer and more magnificent.carefully cut the threads along the edge of the rings with scissors so that we do not accidentally cut our threads for tying. I use thin manicure scissors, and it was convenient for me to cut, running the blades right between the cardboard rings.
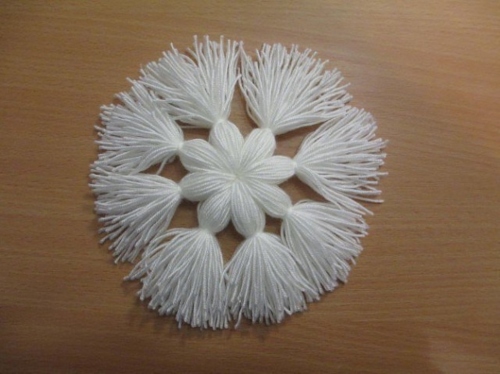
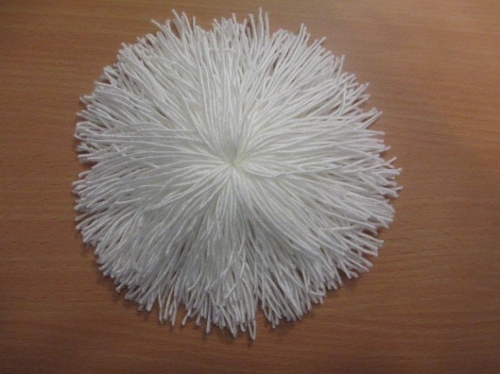
Carefully remove the cardboard. Tie up the yarn tightly so that the snowflake holds well. Arrange the yarn evenly in order, and divide the strings of snowflakes in quarter, then half again! Tie each part with thread. You will get eight identical rays, after which we cut off the excess threads, align the rays of the snowflakes, if necessary.
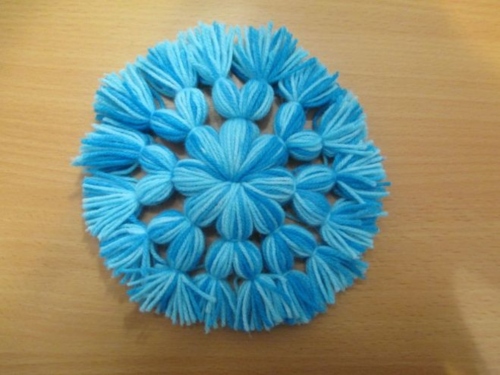
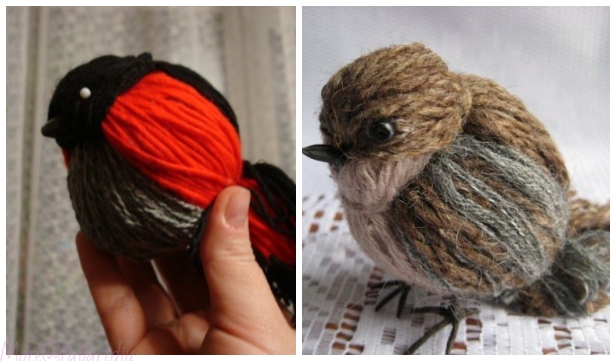
You can make your snowflake bigger with longer rays, divide each into two again, then decorate with eyes, red felt as lips and add buttons and glitters. Easy peasy and fun, agree? You can make yarn birdies for Christmas tree, too.

